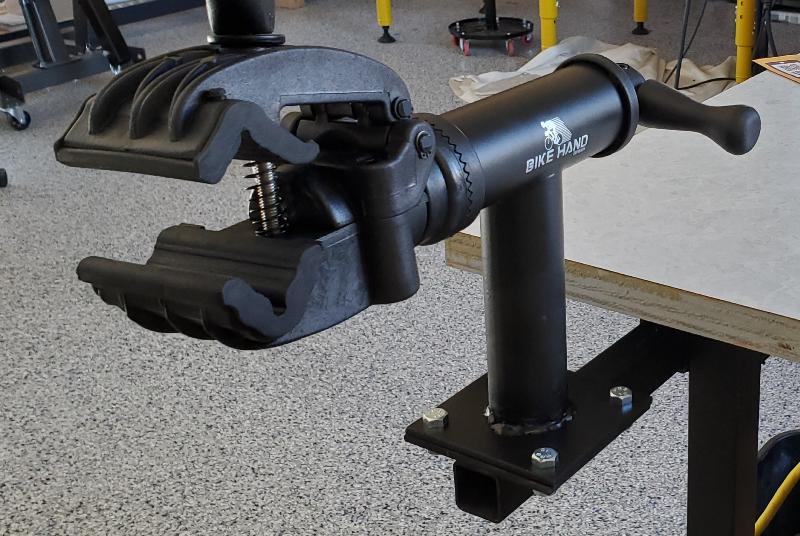
A bicycle vise is super handy to have. It makes bike maintenance so much easier. Over the years I’ve moved from a simple notched 2×4 overhang clamped to a bench, to a BikeHand integrated with a folding stand, and now to a BikeHand clamp head that easily plugs into my workbenches.
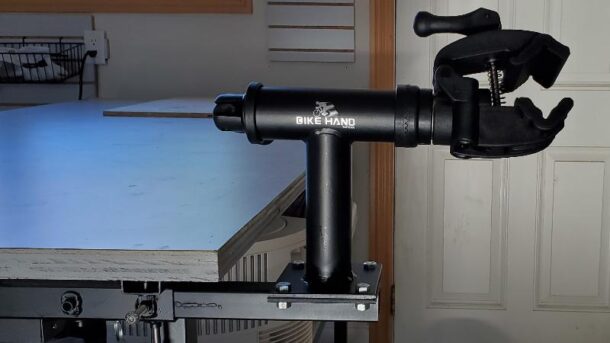
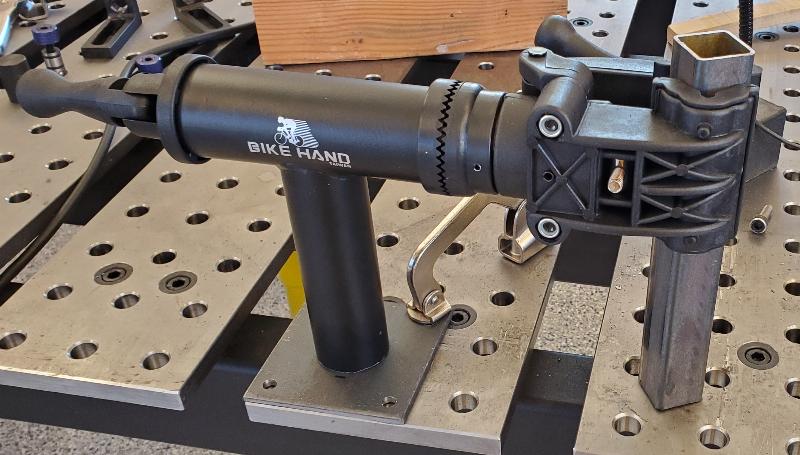
The stand was ok, but I found it a pain to put away, it’s not rock solid, and for some reason I was always tripping over it. The vise head itself is nice, and can be purchased separately. I choose the BikeHand YC-116 model. You can pick it up on Amazon. Park Tool also makes a nice one, but it is almost 2x the cost.
Design
As mentioned in previous posts, all my steel work benches have receiver mounts to accommodate a variety of attachments. I standardized on 1.5″ square tubing for the receivers, and 1.25″ square tubing for the attachment inserts.
Attaching a mount is as simple as sliding it in and inserting a 1/4″ holding pin. For a firm fit, there are 8 mm bolts on the bottom and one side. I also put a weld bead on the insert post and grind it to fit, so that it is reasonably snug to start.
The design of the mount is simple. Just a 4″x4″ plate welded to the post. I used some scrap 3/16″ thick plate, but 1/8″ is plenty.
It is a 4 hole mount so that it can be rotated by 90 degrees if necessary.
Fabrication
Receiver Post
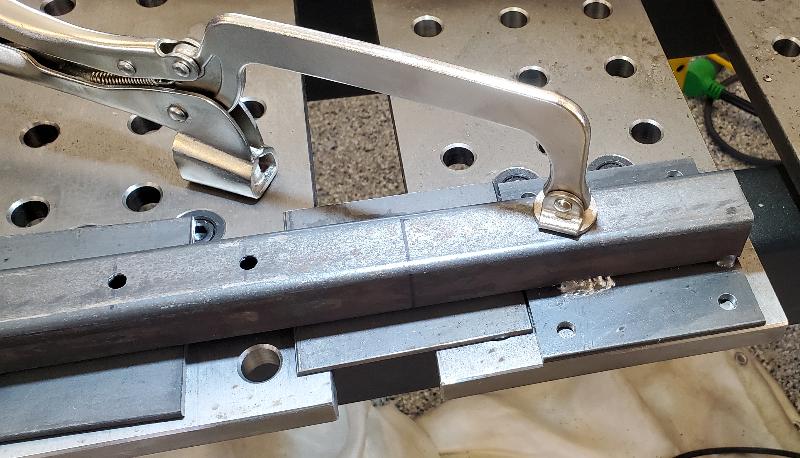
Cut 1.25″ square tubing to 16″ length.
Drill 7 mm through hole(s) for the pin. I use a mill for accurate positioning. I spaced them 2″ apart to allow for multiple positions.
Place a weld bead along the positions where it is inserted inside the receiver. Test fit, grinding it down until it is snug.
Mounting Plates
Using 4″ wide 1/8″+ plate, cut two pieces, 4″ long each. One will be for the post, one for the vise.
Touch the edges and corners with a grinder to remove any sharp edges.
Drill holes in each corner, centered 1/2″ from the edges. To handle 8 mm or 5/16″ bolts, I used a 8.5 mm drill.
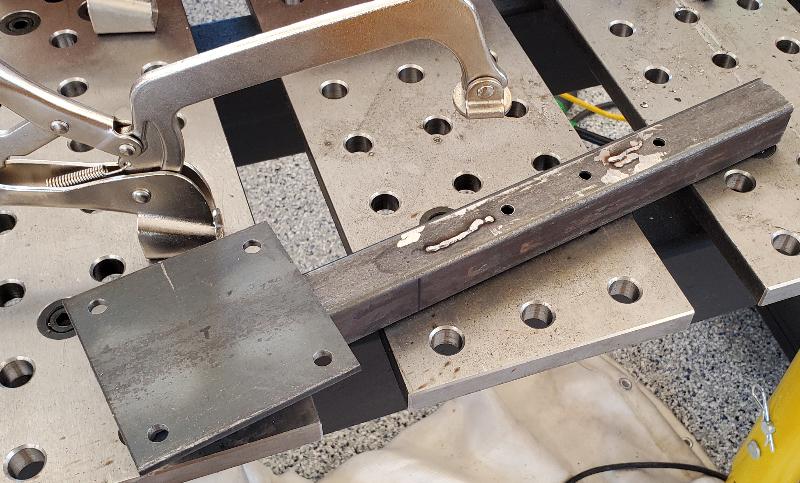
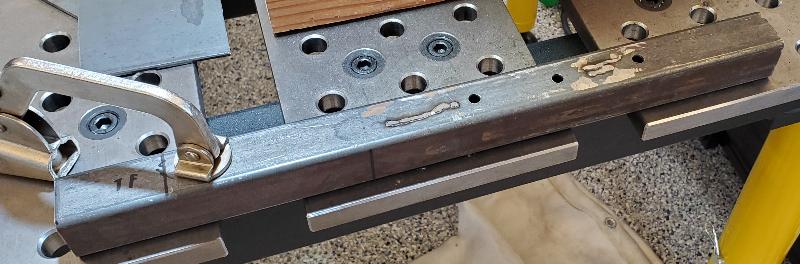
Weld the plate to the post
Shim the back of the post with the other plate so the post sits flush. Weld.
Vise
I tossed the mount and just kept the post section.
Strip the paint off the bottom of the post section.
Sand or grind a chamfer on the bottom to allow for a good weld. I use a belt sander with the green belt.
To ensure the post is perpendicular to the plate, I put a section of square tube held in the vise as shown.
The post is approximately 16 gauge, so set the welder accordingly. Place tack welds on opposing sides- left, then right, front, back. Then complete welding. Grind to suit.
Paint
Clean everything up with brake cleaner and paint.
Bolt the plates together.
Wrapup
There are several ways to mount this. I’ve also got a right angle adaptor underway that covers just about every orientation.